Everything You Need to Know for Great Photo Portraits
03/11/2022
Portrait photography is an Art. Capturing in a single shot a personality, an attitude and the expression of a look is the skill of only a few talented photographers. To succeed in portrait photography, your equipment, and settings matter, but other elements are also to be considered.
Choosing the right focal length and framing plan, lighting the scene and your subject's face, and adjusting the focus are no details. In addition to these technical pieces of advice, follow our compositional and general tips to easily achieve your most beautiful portraits. Directing your model, creating a serene atmosphere, taking care of your compositions, and giving them a slightly dramatic character by focusing on the look shouldn’t be neglected to have great portrait photographs.

How to make a great portrait?
Great portrait photography is as much about the framing and lighting of your subject as about the atmosphere you create during your shoot. Setting an atmosphere of trust is very important for your model to feel comfortable and to allow you to immortalize his or her best profile. If your model has little experience or isn’t used to posing in front of the camera, she/he may feel uncomfortable. Don't hesitate to prepare the upcoming photo session together and then guide him/her during the moment. Show him/her a few shots to adjust the posture or to reveal another facet of his/her personality. The photo portrait is also about creating an intimate moment with your models.
How to frame a portrait?
Different framing rules will allow you to shoot gorgeous photo portraits. Keep in mind the rule of thirds and make sure to emphasize the eyes and the expression of your subject. These are the details that will bring expressiveness to your photograph.
Several framing options are available to you to create intimacy or bring more dynamism to your portrait:
- The close-up: in this portrait, the gaze is at the heart of the image. For a close-up framing, you can slightly cut off the highest body part of the subject, at the top line of the forehead for example. Place the bottom of your composition slightly above the shoulder line of your model.
- The focus: here you will draw attention to detail (eyes, mouth, skin texture). Be sure to take care of your lighting and to use a focal length and a lens adapted for such close-ups.
- The chest shot: this wider shot allows you to capture the entire face and a body attitude by cutting the image below the chest. The arms are cut above the elbow. Your model's style, look, and gestures are emphasized. The background being more present check its clarity or use low field depth to create blur.
- The full-length portrait: this framing choice enables you to photograph one or more people. Integrate the setting (a landscape or a quiet place) or blurred background.
- A variation of the full-length portrait, the mid-thigh portrait, sometimes called the American shot, emphasizes the subject's presence more than the full-length portrait.

Leave room in front of the eyes
Whatever framing you choose, it’s important to clear the space in front of your model’s eyes to declutter your portrait. If nothing stands between your subject's eyes and your camera lens nothing will interfere with the reading of the image. Your viewer will look directly into your model's eyes. Space in front of the eyes enhances the intensity of a portrait. From the front, ¾ or profile, catch the gaze of your model, whether he or she is looking at you or appears to be contemplating a scene off camera. Suggesting what is not in the image can enhance the mystery and complexity of your photograph.
Choosing the right focal length for a portrait
The focal length, the magnification of what is in view, increases with the length of your lens. A long focal length (such as a telephoto lens) narrows your field of view and brings your subject closer, as in macro photography. We usually consider that a 50mm focal length matches what we see with the naked eye.
As a general rule, photographers use a 60 to 120 mm focal for portraits, depending on the type of framing shot chosen. If you use a focal length of less than 50mm you may distort your subject. Lenses longer than 70mm and telephoto lenses also compress the background, leaving your subject in the foreground. It's all about balance, so avoid going over 120mm as this will flatten the foreground, and therefore the face of your model.
As always, if possible, get closer to your subject rather than using your zoom lens, the final effect will always be more flattering.

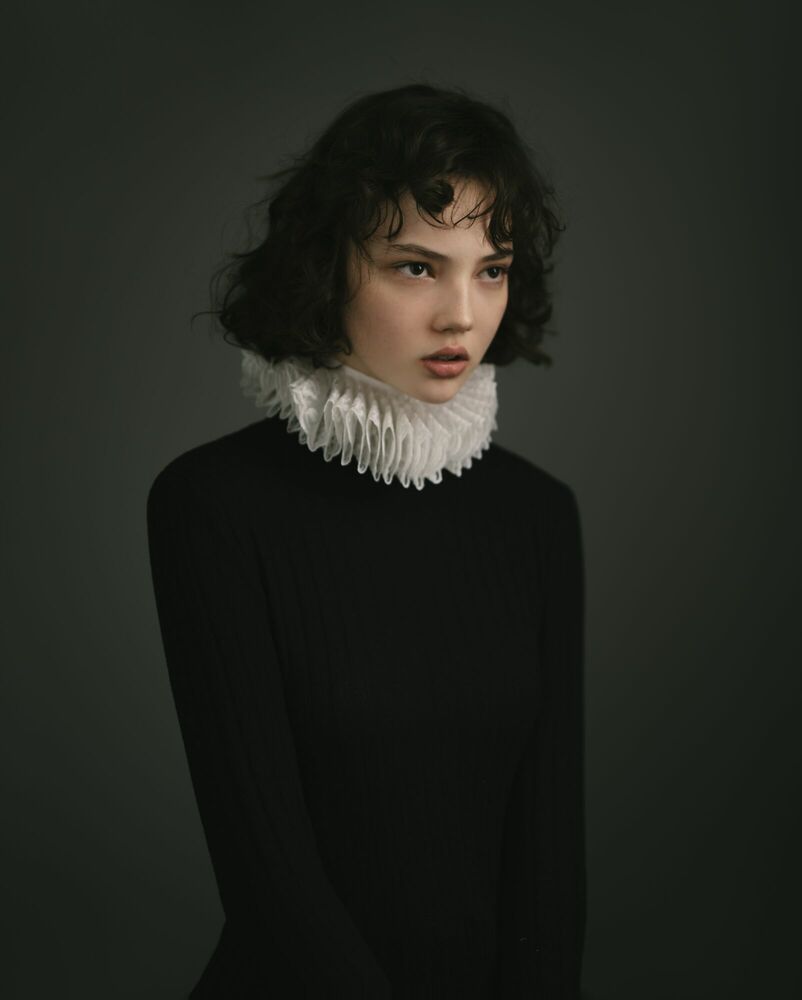
YellowKorner © Bobby Vu - Piper
Focus on the eyes
The eyes are the mirror of the soul, this well-known adage has become a portrait photography motto. Switch your camera to manual mode and focus on the eyes. Whether you are shooting color or a black and white portrait, making your model's eyes the focal point of your composition will emphasize their expressiveness. Nostalgia, tenderness, anger, curiosity... there's nothing like the look to make your audience feel the intensity of the emotions felt during your photo shoot. The best example is the look between two soul mates in wedding photos!
Natural or artificial light
Your lighting choice and the position of your model about the light source are very important for your portrait.
If the conditions allow it, favoring the use of natural light will allow you to obtain authentic images. Natural light is often the only option available for outdoor portraits or if you are a street photographer.

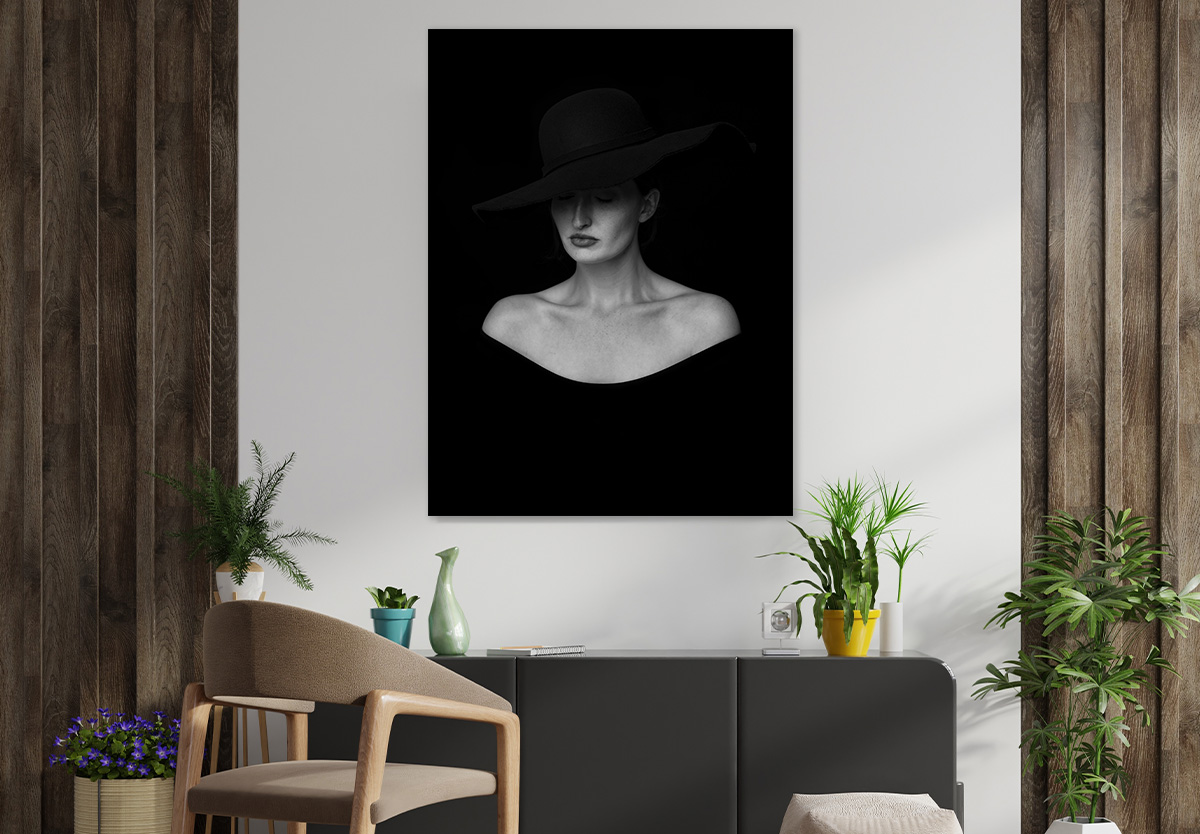
Artificial light will be interesting to juggle between a diffused light and a highlighting of a certain area of your image. The use of mobile lights and lamps, diffusers, and refractors allows you to modulate and dim the light as you wish. You can shape the shadows of your photograph and give your portrait a slightly or intensely dramatic character. Smoothing the skin texture, underlining or erasing certain features, marking the expression of a look, and detaching your subject from the background are all possibilities offered by artificial light correctly used. Avoid using your flash for your portraits, it will tend to flatten the image and can give rise to an unattractive red-eye effect.
The color temperature and white balance will be the result of your lighting choices. Don't worry, you can always use photo editing to correct some lighting defects.
Print your portraits in professional quality
Put your most beautiful portrait in the spotlight with custom photo printing. Our laboratory specializing in professional photo printing offers its know-how to private individuals. Having your most beautiful work printed in the format and finish of your choice, with or without a photo frame, will allow you to exhibit your favorite portraits.
Children's portraits, full-length group portraits, or wedding photos: can all benefit from a gallery-quality photo print.
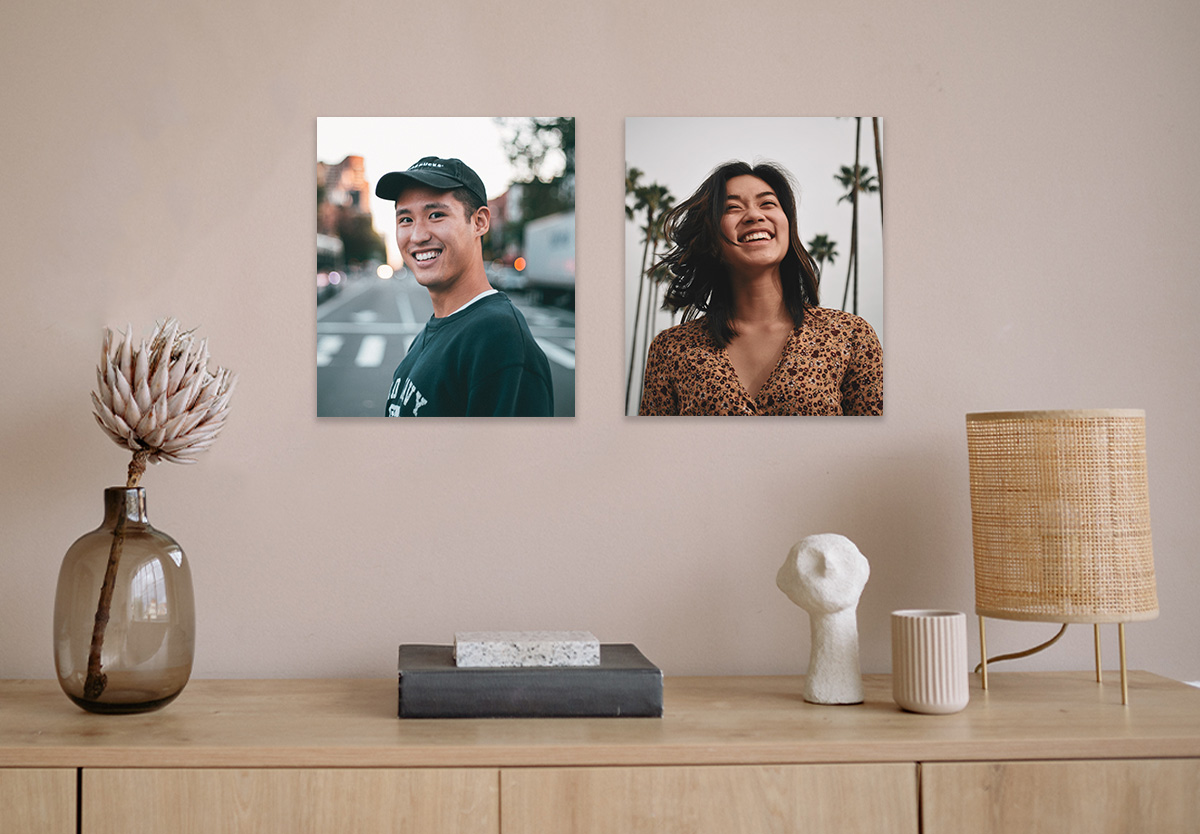
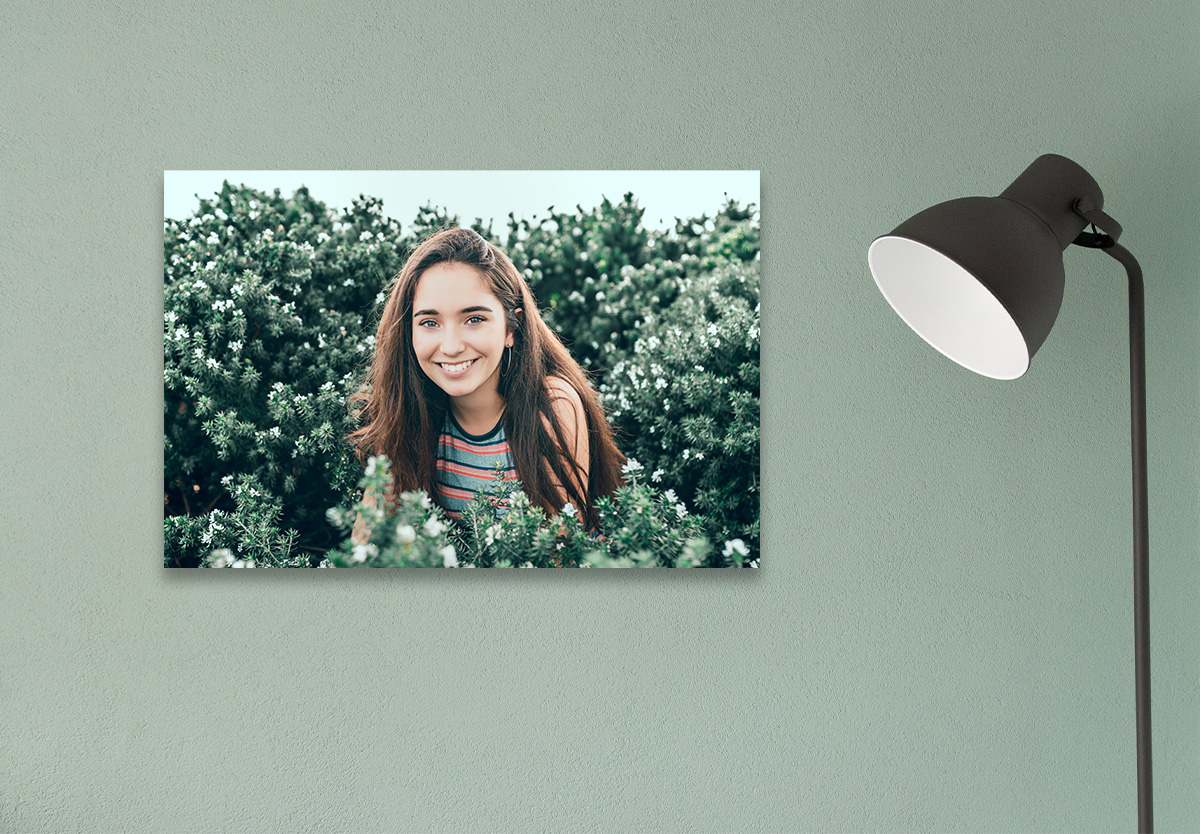
The mini or framed gallery format will be perfect for your close-up portraits. The Selection or Large formats will enhance your chest shot or American shot portraits while the Large or Giant formats will magnify your full-length and group photos. There is a LabKorner format for all your portraits!
© 2022, Justine Grosset pour LabKorner